Garden Bird Camera Trap
My family and I enjoy watching the birds in our garden. We get the regular blue tits, robins, wrens, etc and I thought it would be good to be able to capture up-close photos of them as they visit our feeders. A few years ago I built a Raspberry Pi based camera trap to photograph the hedgehogs in our garden. It uses a camera with the infared filter removed, a passive infared sensor, and an array of infared LEDs, but the use of a Raspberry Pi means a large battery pack is required making the whole unit bulky. That's fine when capturing images of ground based hedgehogs, but a visible light version of the same camera trap would have been too heavy to position in a tree near a bird feeder.
Since creating the original camera trap I've been using Expressif ESP based boards for most of my projects. While having significantly lower compute power than the Raspberry Pi they have some major advantages for projects such as this.
- Small form factor
- Low power consumption
- Various sleep modes
- Fast startup time
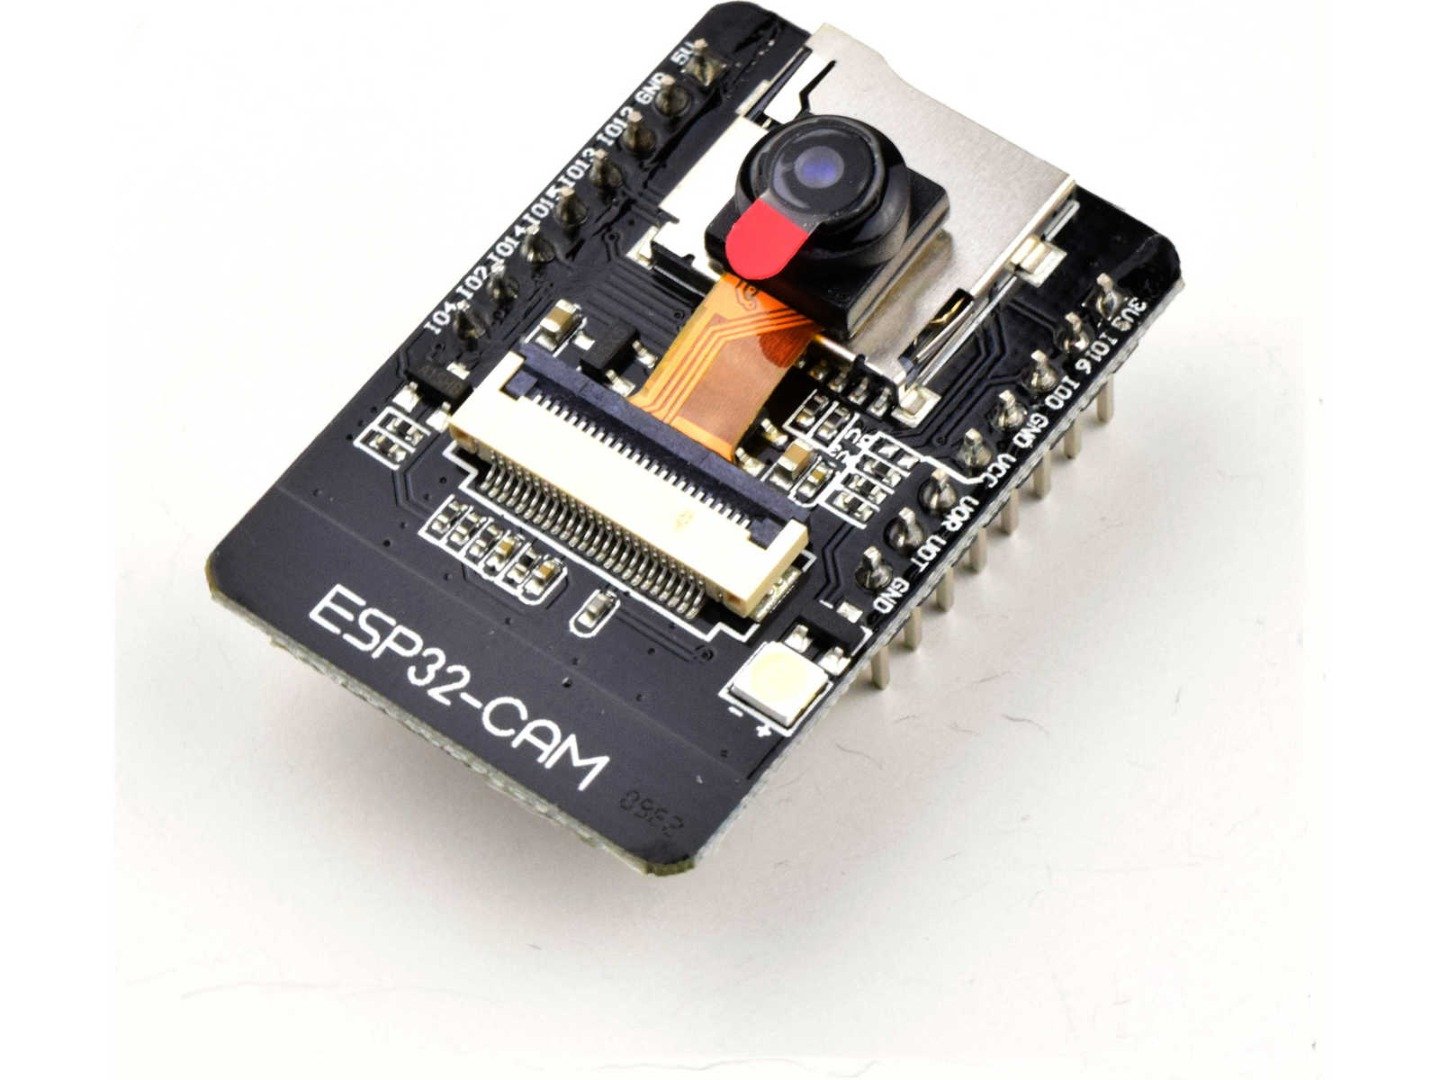
The ESP32 is programmed to capture a photo then uploaded it to a gallery on my website.
I used the same PIR sensor to detect the birds as I did in the previous camera trap project for hedgehogs. It's tunable, reliable, and runs on a wide range of voltages. When the PIR sensor detects a bird, the ESP32 is programmed to wake from deep sleep, take a photo, upload it, and finally go back into deep sleep until the PIR sensor is triggered again. For some reason I thought that range started at 3v, but it's actually 5v, so when I tried to power it with 3v it worked, but suffered from brown outs and it took me far too long to work out why it kept giving false positives!
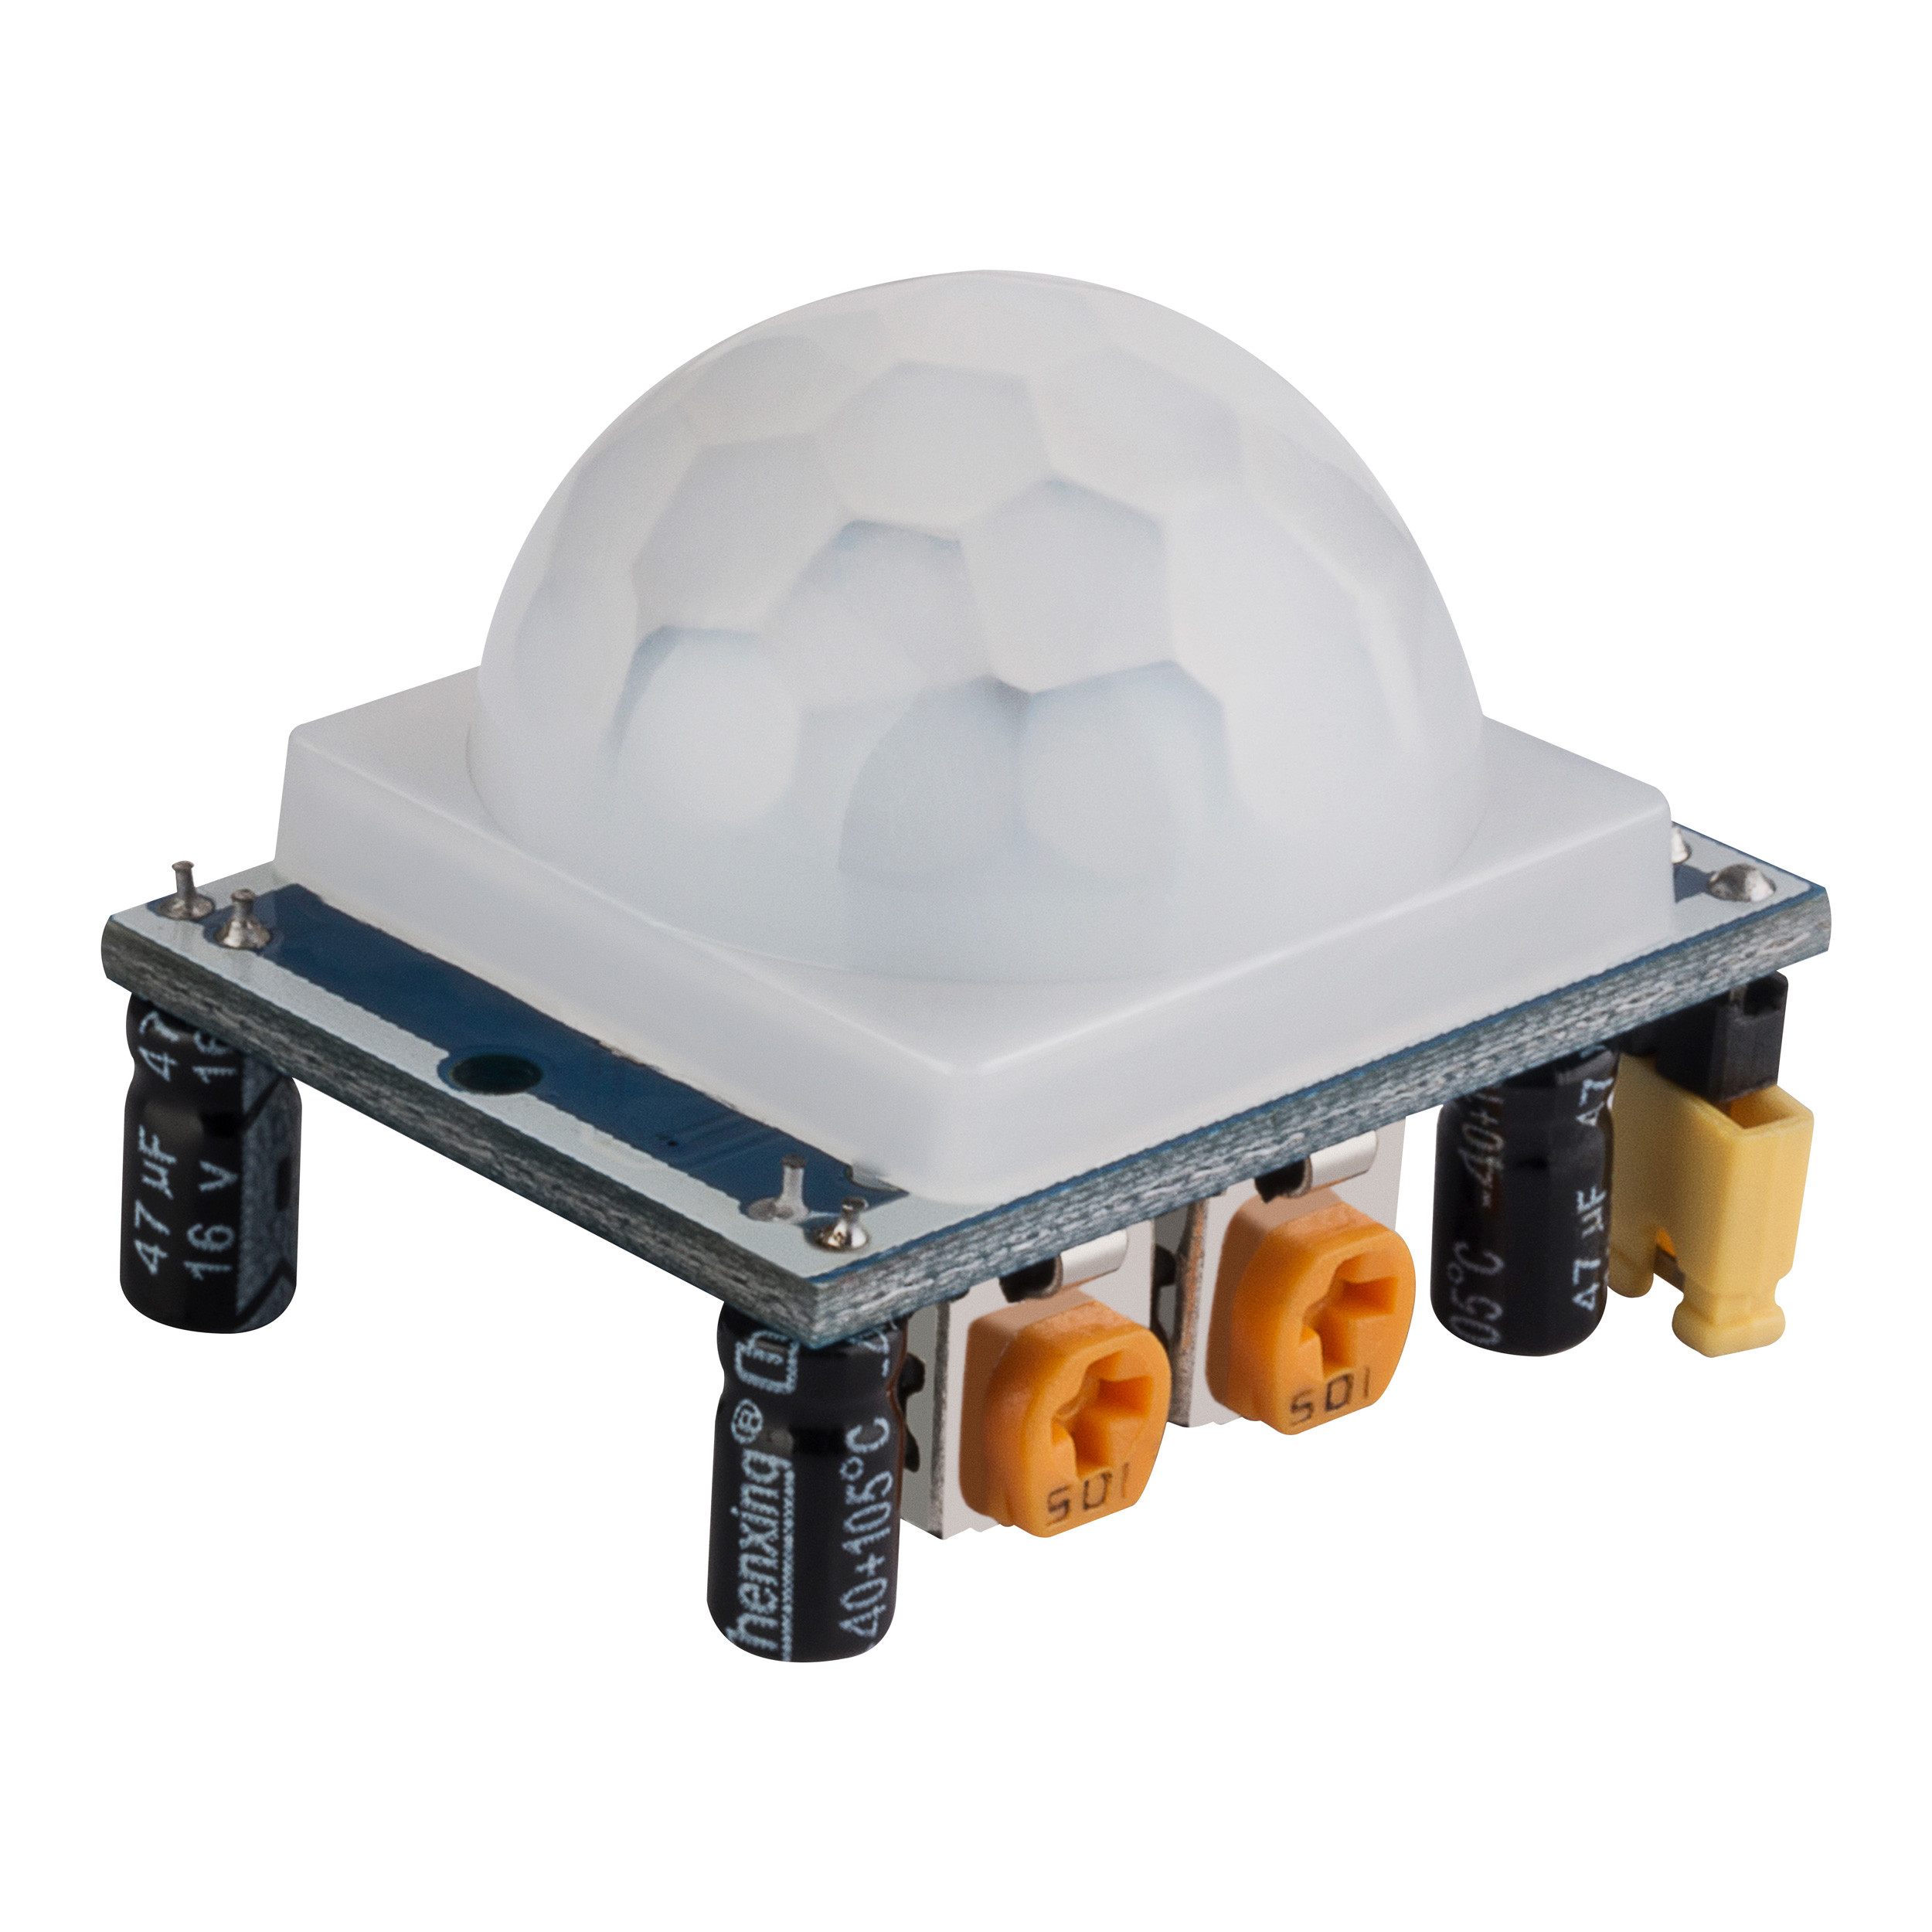
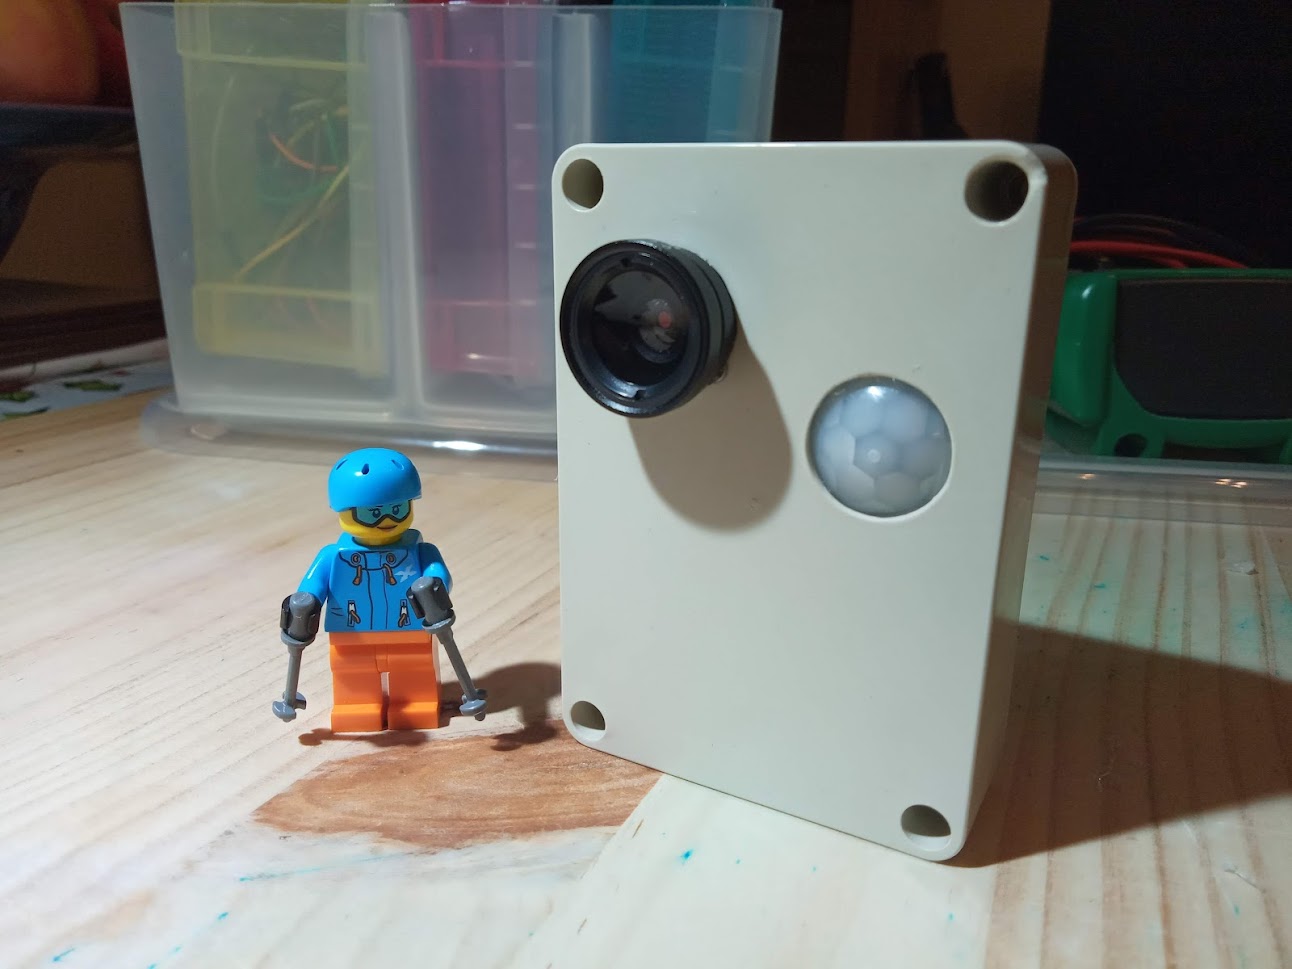
To power it all I use 3v lithium cells. I hoped to get away with a single 3v cell powering the ESP32-CAM and the PIR sensor, but the brown outs on the PIR meant I had to double up in series to bump the voltage to 6. That was fine for the ESP32-CAM via its 5v input and the PIR rus perfectly on that too. That made it extremely tight in the 85 x 53 x 35mm project box I'm using.
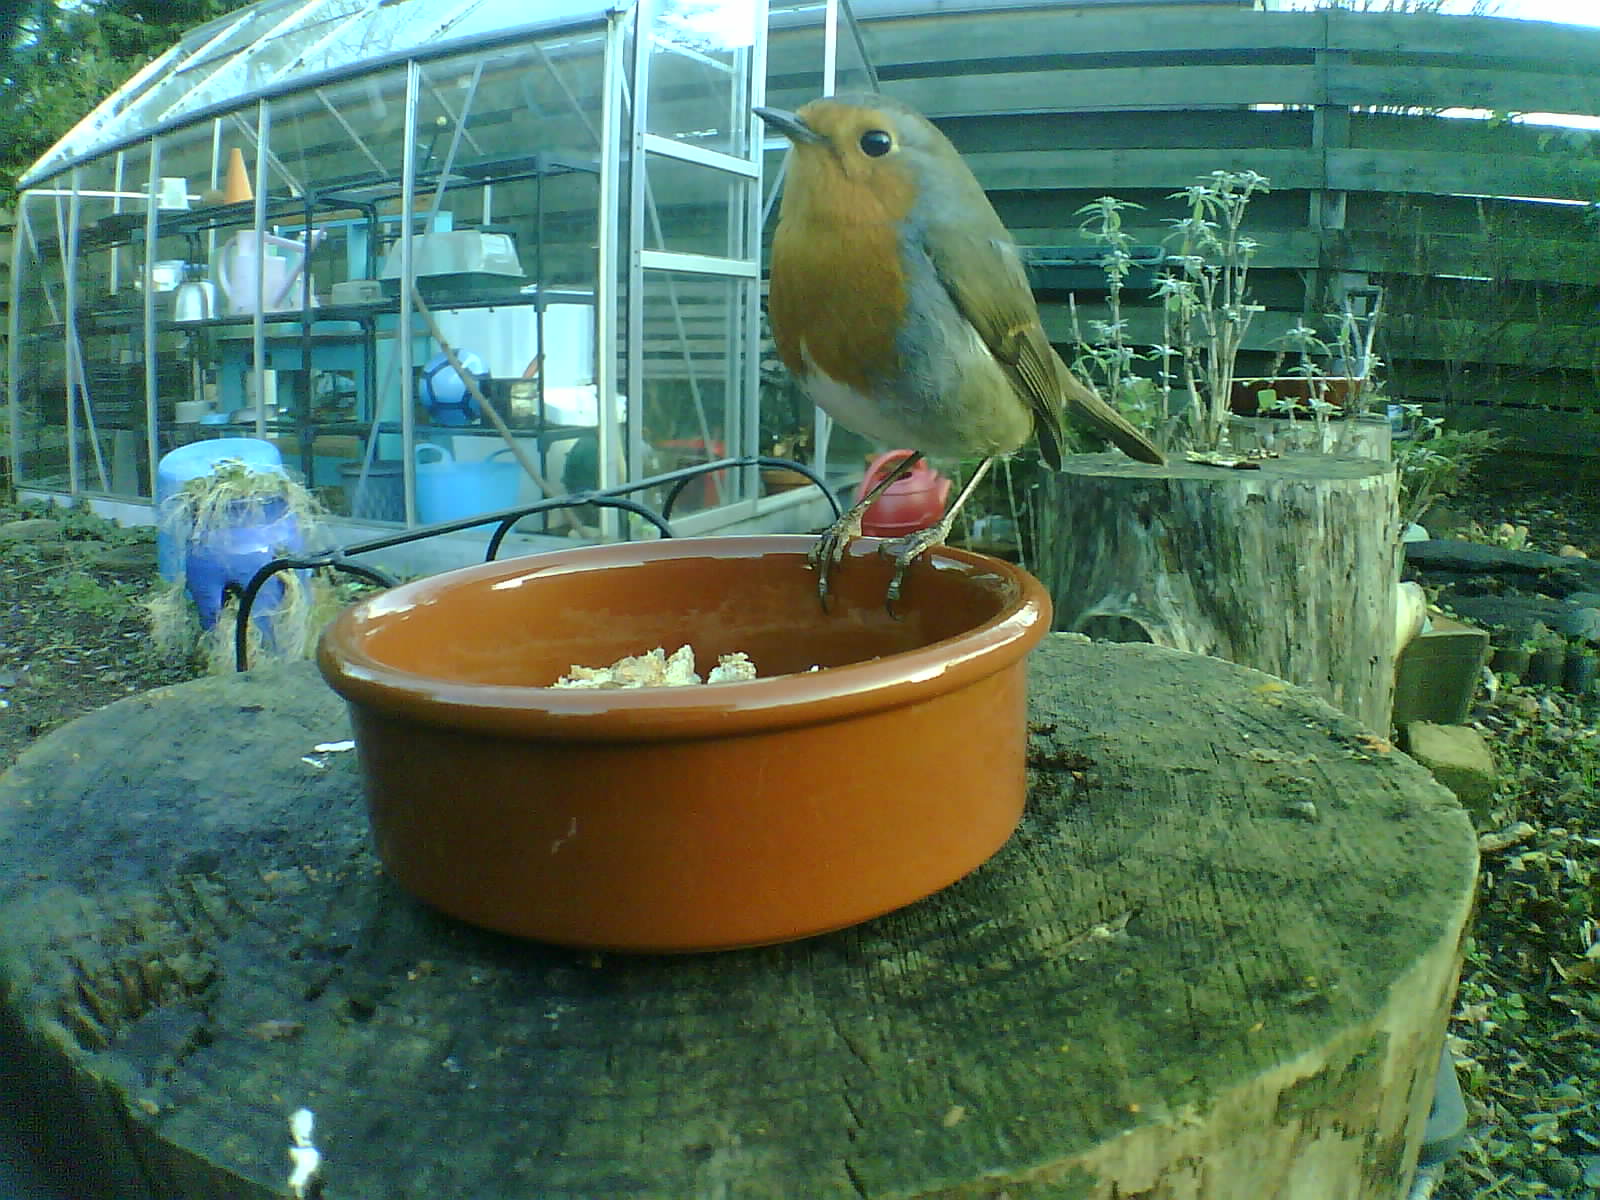
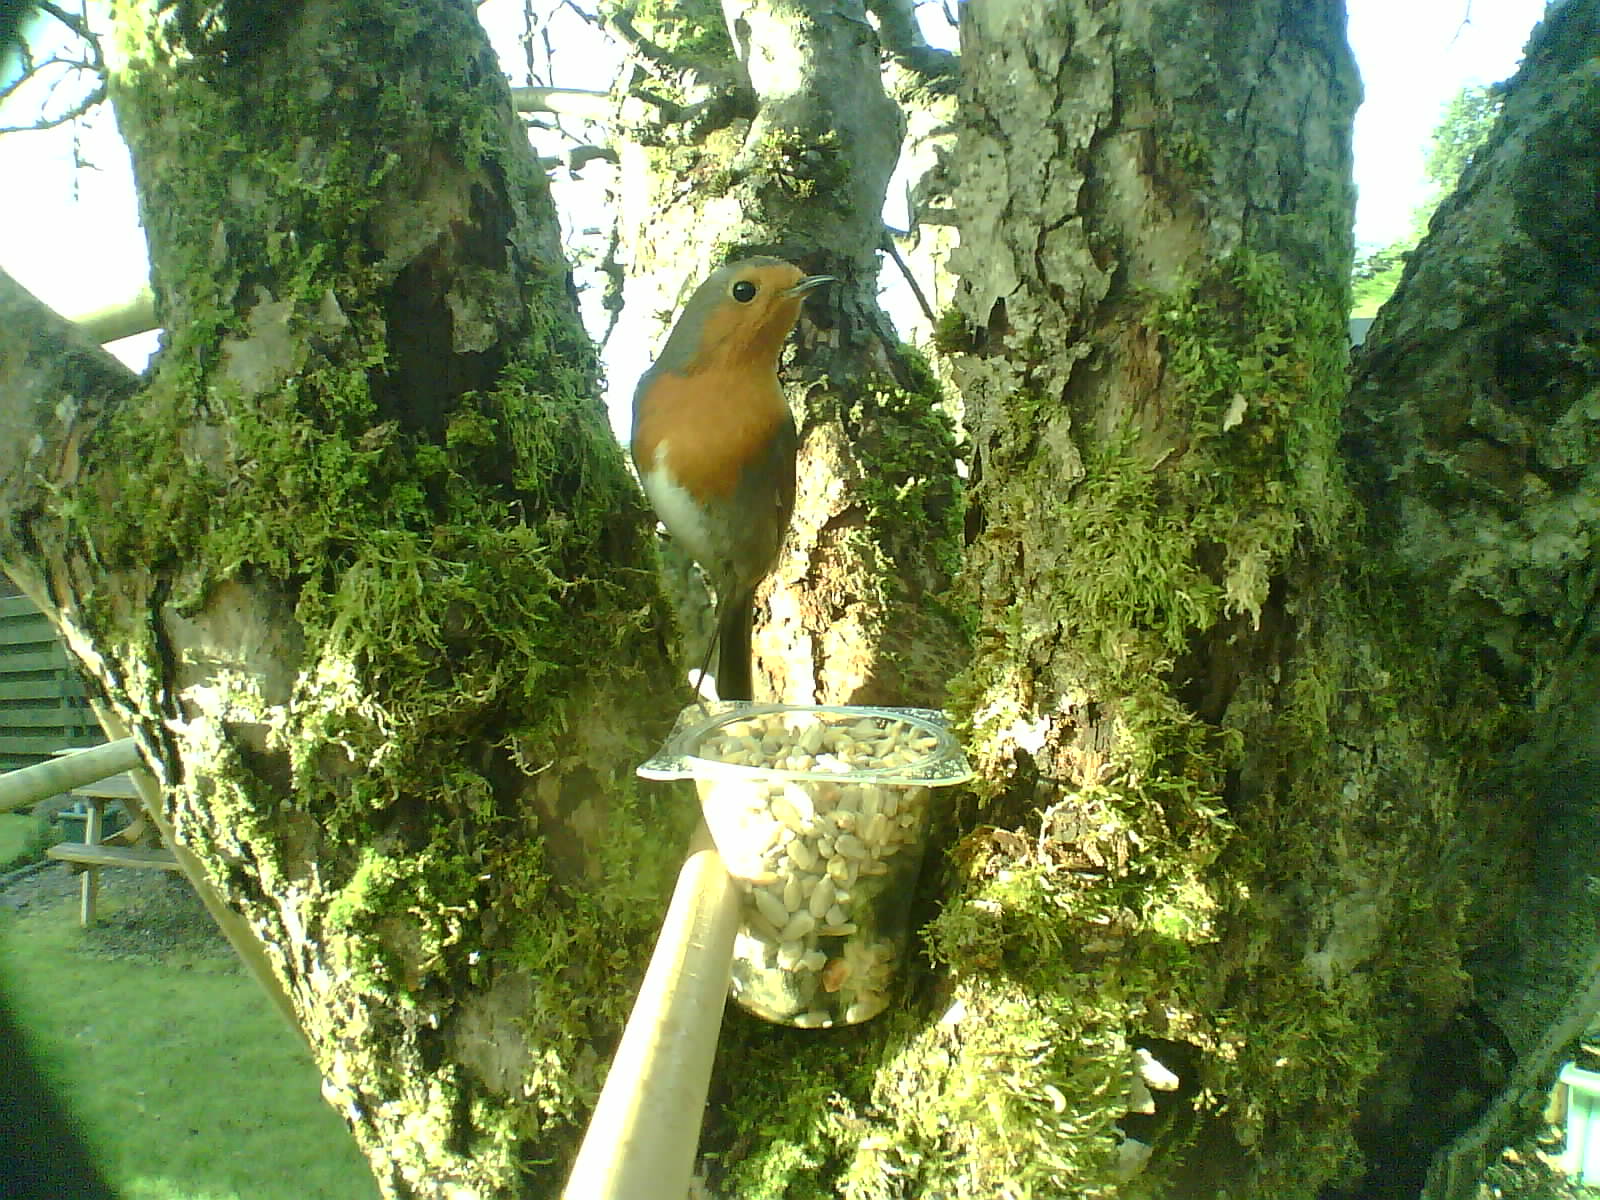
I also needed to add a lens to the camera. The OV7670 has a minimum focal distance of about 30cm and at that distance a small bird such as a robin is too small in the frame to capture a good photo. So I picked up a cheap mobile phone lens kit that allows the camera to focus at about 10cm. As you can see below, that allows the camera to capture a clear image of a small bird close up.
The battery capacity is 1600mAh. The PIR sensor consumes 0.06mA constantly. The ESP32-CAM consumes 4mA in deep sleep and around 180mA in 10 second bursts when capturing a photo and uploading it. This means the camera trap can sit in stand-by for over 2 weeks or take over 5000 photos on a single charge.
The ESP32-CAM board cost around £6. The PIR sensor cost around £2. The project box cost around £5. The lens kit cost around £2. So a total cost of around £15 for the camera trap. Not bad.